FPS Game 제작 - 프로토 - 플레이어 제작
인생언리얼 유니티 FPS Game제작을 간략히 정리했습니다. 자세한건 책을 사서 보시면 좋을것 같습니다.
소스는
https://github.com/araxrlab/lifeunity
GitHub - araxrlab/lifeunity: 인생유니타교과서 공유
인생유니타교과서 공유. Contribute to araxrlab/lifeunity development by creating an account on GitHub.
github.com
3D템플릿으로 FpsGame을 만든다.
Ctrl+N을 눌러 MainScene이라는 이름으로 저장한다.
Plain을 추가 Ground로 이름 바꾸고 스케일 변경


Mat_Ground Material생성후 색상적용


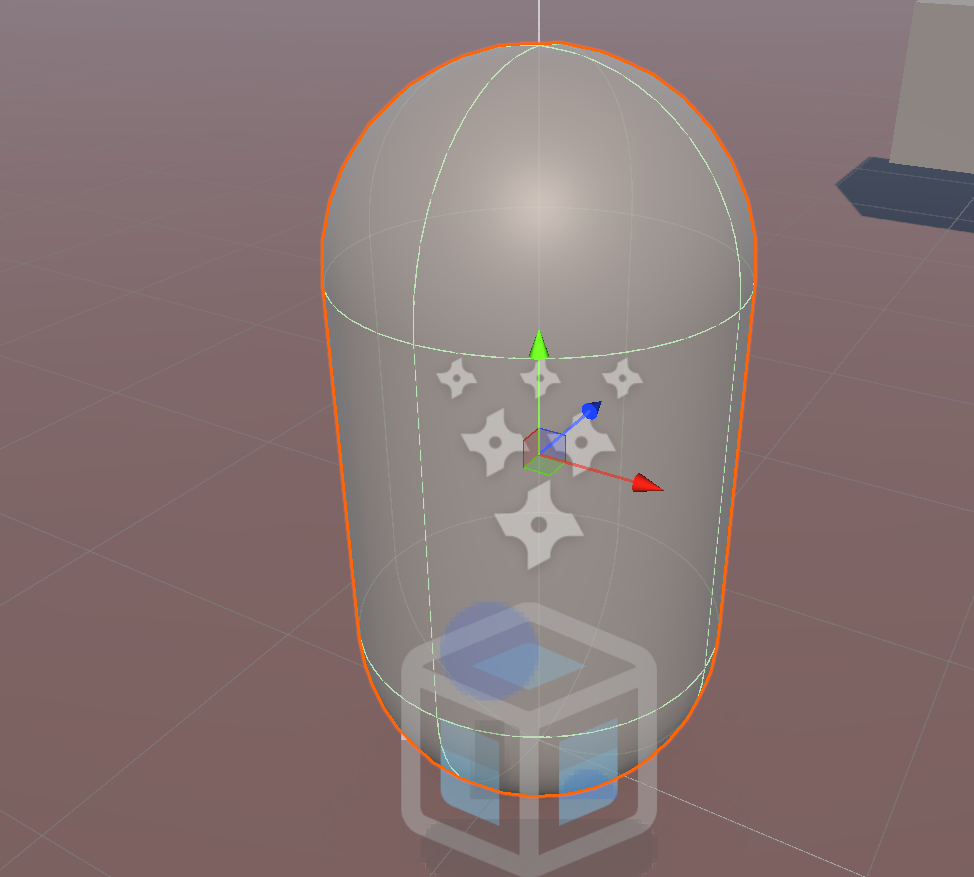
하이라키 캡슐추가하여 Player로 이름짓고

Scrips폴더를 만든후 CamRotate 스크립 작성 MainCamera에 끌어다 놓는다.
유니티는 플레이를 누르면 마우스위 궤적을 외우고 있어 처음 좌클릭하기 전까지는 mouseEnable=false로 해서 오동작을 막았다.
using UnityEngine;

public class CamRotate : MonoBehaviour
{
    public float rotSpeed = 200f;
    float mx = 0;
    float my = 0;
    public bool mouseEnable = false;
    // Start is called once before the first execution of Update after the MonoBehaviour is created
    void Start()
    {

    }

    // Update is called once per frame
    void Update()
    {
        if(Input.GetMouseButtonDown(0))
        {
            mouseEnable = true;
        }
        if (!mouseEnable) return;
        float mouse_x = Input.GetAxis("Mouse X");
        float mouse_y = Input.GetAxis("Mouse Y");
        mx += mouse_x * rotSpeed * Time.deltaTime;
        my += mouse_y * rotSpeed * Time.deltaTime;

        my = Mathf.Clamp(my, -90f, 90f);
        transform.eulerAngles = new Vector3(-my, mx, 0);
    }
}
PlayerRotate 스크립을 만들고 Player에 끌어다 놓고 CamRotate에서 좌우회전만 로직만 복사해서 붙여다 놓는다. 카메라와 플레이어를 따로따로 만들어야 Player의 몸이 앞으로 숙여지지 않는다.
using UnityEngine;

public class PlayerRotate : MonoBehaviour
{
    public float rotSpeed = 200f;
    float mx  = 0;
    public bool mouseEnable = false;
    // Start is called once before the first execution of Update after the MonoBehaviour is created
    void Start()
    {

    }

    // Update is called once per frame
    void Update()
    {
        if (Input.GetMouseButtonDown(0))
        {
            mouseEnable = true;
        }
        if (!mouseEnable) return;
        float mouse_x = Input.GetAxis("Mouse X");
        mx += mouse_x * rotSpeed * Time.deltaTime;
        transform.eulerAngles = new Vector3(0, mx, 0);

    }
}
카메라를 일인칭시점으로 만들기위해 빈오브젝트를 만들고 Player자식으로 설정 CamPosition으로 변경 좌표는 0,0.25,0
camFollow.cs를 만들고 카메라오브젝트에 스크립트를 붙여줍니다.
using UnityEngine;

public class camFollow : MonoBehaviour
{
    public Transform target;
    // Update is called once per frame
    void Update()
    {
        transform.position = target.position;
    }
}
target 변수에 빈오브젝트 camPosition을 끌어다 놓와줍니다. 그럼 카메라가 따라다니겠죠. 카메라를 그냥 Player의 자식으로 붙여도 될것 같습니다.
캐릭터 이동
PlayerMove.cs를 만듭니다.
move()함수는 이동에 관한 로직입니다.
키보드 WASD입력을 받아 움직이지만 카메라방향과 연동할수 있도록 transformDirection 해줍니다.
float h = Input.GetAxis("Horizontal");
float v = Input.GetAxis("Vertical");
Vector3 dir = new Vector3(h, 0, v);
dir = dir.normalized;
dir = Camera.main.transform.TransformDirection(dir);
앞으로 만들 GameManager.gm.gState가 Run 상태가 아니면 리턴합니다.
Player를 가볍게 하기 위해 RigidBody 컴포넌트를 제적하고 Character Controller를 추가했습니다.

점프 부분은 점프키가 눌리면 초기 속도를 jumpPower로 해 상승하게 만든후
if (Input.GetButtonDown("Jump") && !isJumping)
{
yVelocity = jumpPower;
isJumping = true;
}
중력가속도 yVelocity += gravity * Time.deltaTime; 이용해 점점 상승속도를 낮추다가 마이너스로 전화해 낙하하게 만듭니다.
점프중 높이가 있는 장애물에 착륙한 경우 땅에 착륙한것으로 오동작하면 안되므로 if (cc.collisionFlags == CollisionFlags.Below) 로 체크해 점프속도를 0으로 만들어 멈추줍니다. 장애물에서 다시 내려갈경우 CollisionFlags.Below 가 아니므로 다시 중력가속도로 내려갑니다.
적에게 공격당했을때 hp를 빼주고 코루틴을 콜합니다. 플레이어의 죽음은 나중에 만들 GameManager에서 감시하다가 GameOver UI를 켜줍니다.
public void DamageAction(int damage)
{
hp -= damage;
if (hp > 0) {
StartCoroutine(PlayHitEffect());
}
}
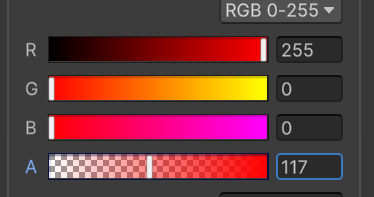
하이라키에 .UI>Image를 투명한 빨간색으로 만들어 놓고 켰다 꺼줍니다.
IEnumerator PlayHitEffect()
{
hitEffect.SetActive(true);
yield return new WaitForSeconds(.3f);
hitEffect.SetActive(false);
}
PlayerMove.cs
using System.Collections;
using UnityEngine;
using UnityEngine.UI;

public class PlayerMove : MonoBehaviour
{
    public float moveSpeed = 7f;
    CharacterController cc;
    float gravity = -20f;
    public float yVelocity = 0;
    public float jumpPower = 10f;
    public bool isJumping = false;
    public int hp = 20;
    int maxHp = 20;
    public Slider hpSlider;
    public GameObject hitEffect;
    // Start is called once before the first execution of Update after the MonoBehaviour is created
    void Start()
    {
        cc = GetComponent<CharacterController>();
    }
    // Update is called once per frame
    void Update()
    {
        if(GameManager.gm.gState != GameManager.GameState.Run)
        {
            return;
        }
        float h = Input.GetAxis("Horizontal");
        float v = Input.GetAxis("Vertical");
        Vector3 dir = new Vector3(h, 0, v);
        dir = dir.normalized;
        dir = Camera.main.transform.TransformDirection(dir);
        if (cc.collisionFlags == CollisionFlags.Below)
        {
            if (isJumping)
            {
                isJumping = false;
                yVelocity = 0;
            }
        } else
        {
            isJumping=true;
        }
        if (Input.GetButtonDown("Jump") && !isJumping)
        {
            yVelocity = jumpPower;
            isJumping = true;
        }
        if(isJumping)
        {
            yVelocity += gravity * Time.deltaTime;
            dir.y = yVelocity;
        }

        cc.Move(dir * moveSpeed * Time.deltaTime);
        hpSlider.value = (float)hp / (float)maxHp;
    }
    public void DamageAction(int damage)
    {
        hp -= damage;
        if (hp > 0) {
            StartCoroutine(PlayHitEffect());
        }
    }
    IEnumerator PlayHitEffect()
    {
        hitEffect.SetActive(true);
        yield return new WaitForSeconds(.3f);
        hitEffect.SetActive(false);
    }
}
UI Image를 만들고 Hit으로 이름 만들고 투명한 빨간색으로 한다음 비활성화 해줍니다. 공격당할경우 PlayHitEffect()에서 반짝거리게 합니다.

UI에 Image를 추가하고 Source Image로 Crosshair를 선택합니다.


UI에 Slider를 추가하고 위치를 위쪽 중간으로 하고 크기를 맞춰줍니다.


Fill의 위치를 변경합니다. 좌측 시작점을 깨끗하게 하기 위해서 입니다.


PlayerMove Script에서 HP바와 Hit image를 컨트롤 하므로 끌어다 연결해줍니다.

Text_GameState는 나중에 GameManger.cs에서 게임의 상태를 표시할 UI입니다.