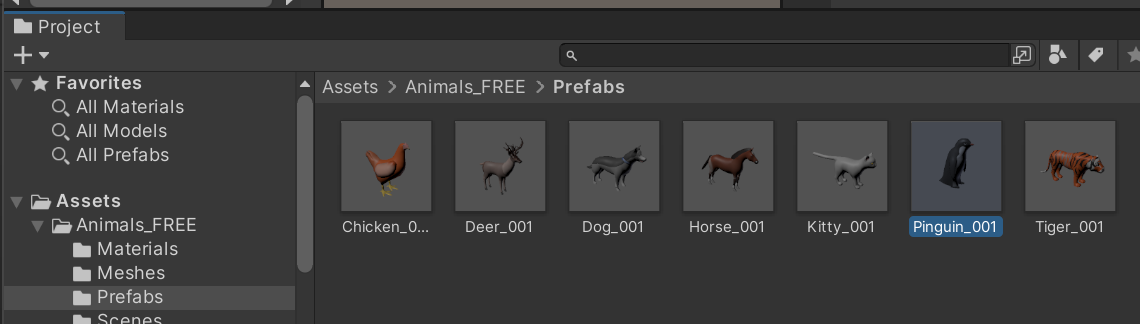
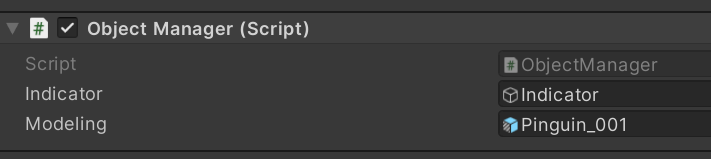
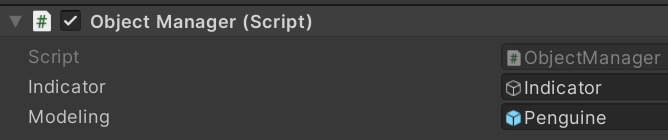
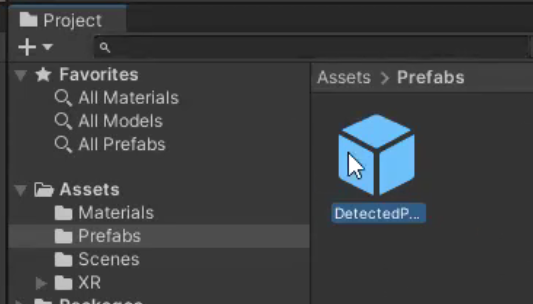
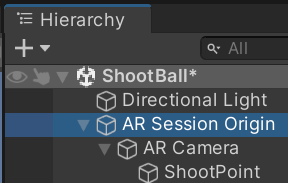
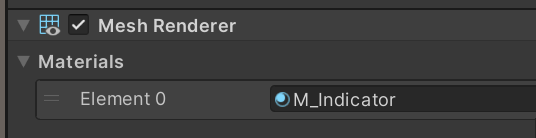
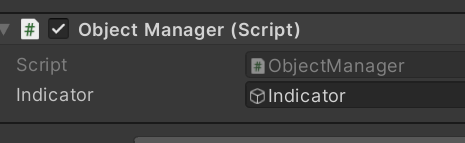
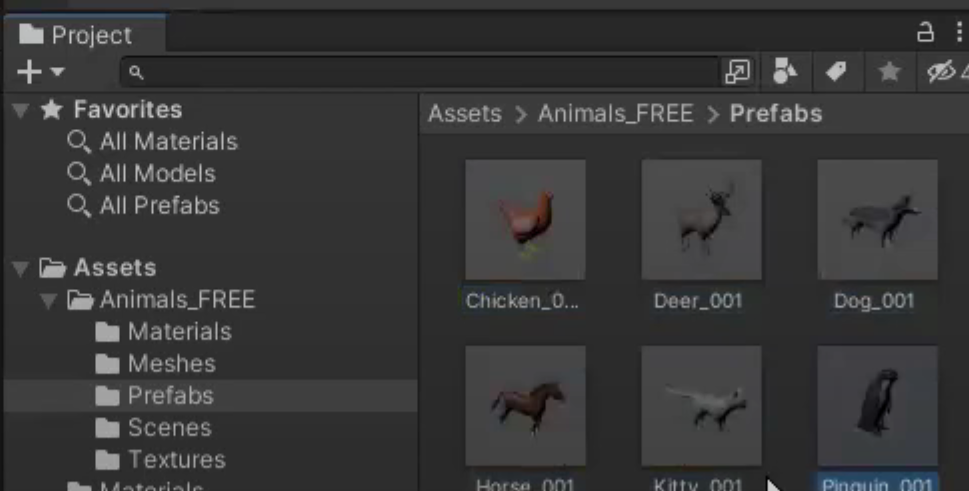
AR Session Origin > Object Manager Modeling의 값을 방금 만든 프리팹을 끌어다 연결해준다.
빌드앤런 해보고 터치하면 펭귄이 앞을 바로 보고 있다 그런데 지금은 터치할때 마다 펭귄이 계속 생기므로 하나만 생기게 해보겠다. ObjectManager CS를 열고 코드를 추가한다 .Instatiate()는 객체참조를 리턴하므로 이걸 저장했다고 null이면 생성하고 아니면 위치를 현재 Indicator로 움직여 보겠다.
//생성된 모델
GameObject placedObject;

    void Update()
{
    Touch touch = Input.GetTouch(0);
    DetectGround();
    if (touch.phase == TouchPhase.Began)
    {
        //만약 생성된 오브젝트가 없다면 모델링 생성및  placedObject변수에 할당
        if(placedObject == null)
        { // 인디케이터 위치에 모델링 생성
            placedObject = Instantiate(modeling, indicator.transform.position, indicator.transform.rotation);
        } else
        {
            placedObject.transform.SetPositionAndRotation(indicator.transform.position, indicator.transform.rotation);
        }
    }
}
빌드런 해보면 이제는 하나만 생긴다. 터치하면 계속 중앙으로 이동한다.
이제는 터치하고 드래그 하면 좌우로 회전하게 만들어 보겠다.
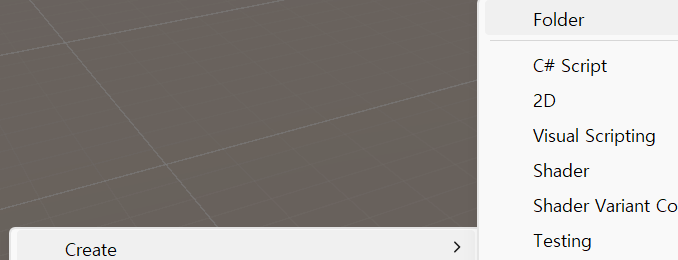
스크립터 폴더에 우클릭하고 스크립트를 하나 만들고 이름을 Controller로 한다.
using System.Collections;
using System.Collections.Generic;
using UnityEngine;

public class Controller : MonoBehaviour
{
    Vector2 touchStartPos; //터치 시작 시점
    float rotationSpeed = 0.1f; // 회전속도

    // Start is called before the first frame update
    void Start()
    {

    }

    // Update is called once per frame
    void Update()
    {
        if (Input.touchCount == 1)
        {    //인풋의 첫번째 데이터를 가져옴
            Touch touch = Input.GetTouch(0);
            if (touch.phase == TouchPhase.Began)
            {   //터치 시작점을 저장
                touchStartPos = touch.position;
            } else if (touch.phase == TouchPhase.Moved)
            {
                //현재 터치위치 - 시작 터치위치
                Vector2 touchDelta = touch.position - touchStartPos;
                float rotationY = touchDelta.x * rotationSpeed;
                transform.Rotate(transform.up, rotationY, Space.World);
                touchStartPos = touch.position;
            }
        }
    }
}
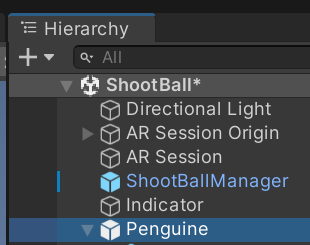
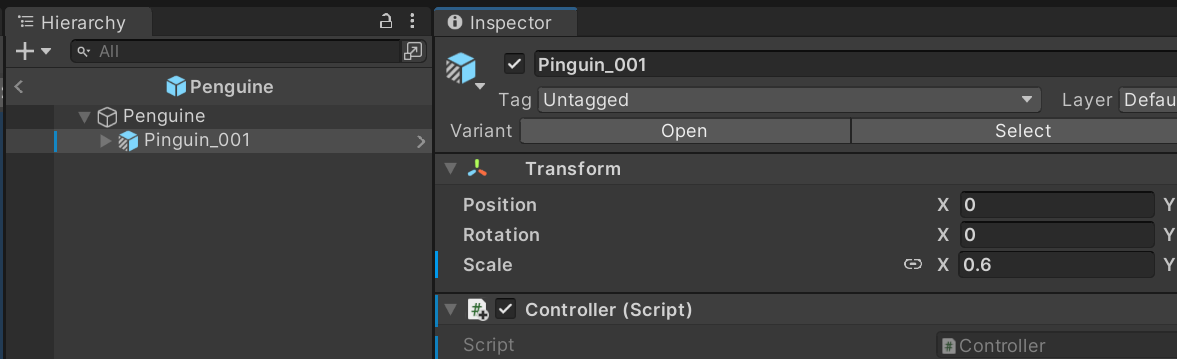
이 스트립트는 펭귄을 돌리므로 펭귄 프리펜이 넣어준다 자의할점은 펭귄 프리펩의 자식에 넣어주어야 한다 안그러면 안움직인단다.
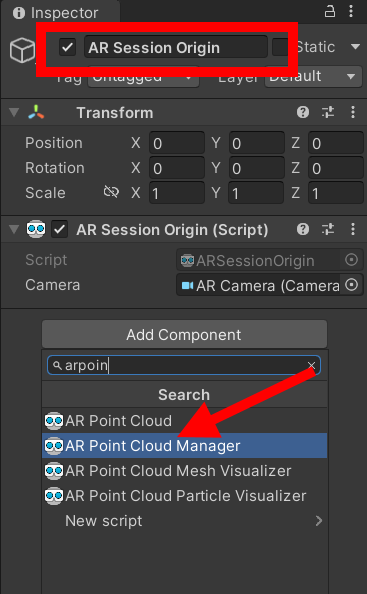
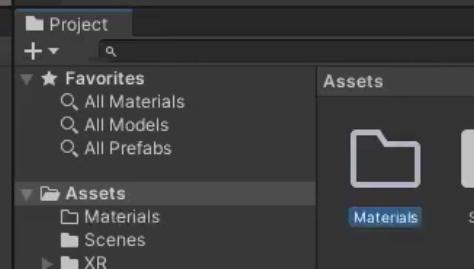
Assets폴더밑에 Scripts폴더를 만들고 Script를 만들고 이름을 바로 ObjectManager로 바군다. 클래스명 때문에 그렇다.
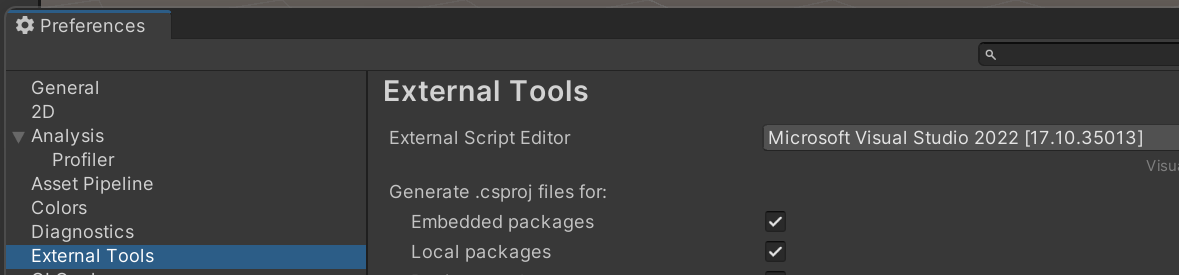
만들어진 스크립트를 쳐보면 VisualStudio가 열린다. 안열리면 Edit>Preference를 체크한다.
VisualStudio가 열리면 다음 네임스페이스를 추가한다.
using UnityEngine.XR.ARFoundation;
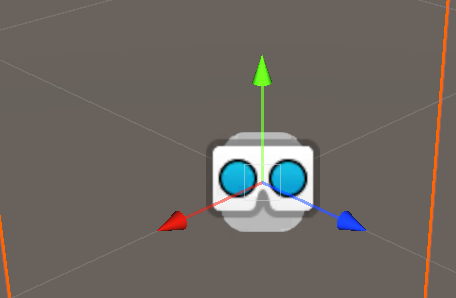
스크립트를 완성한다.이건 처음 앱리 로딩하면 인디케이터가 사라지게 해준다
using System.Collections;
using System.Collections.Generic;
using UnityEngine;
using UnityEngine.XR.ARFoundation;
public class ObjectManager : MonoBehaviour
{
//변수선언
public GameObject indicator;
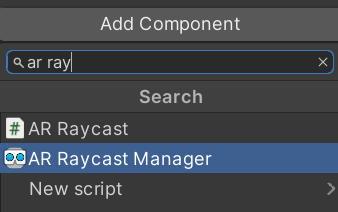
ARRaycastManager arManager;
// Start is called before the first frame update
void Start()
{
//AR Raycast Manager 컴포넌트를 가져옴
arManager = GetComponent<ARRaycastManager>();
//인디케이터 비활성화
indicator.SetActive(false);
}
// Update is called once per frame
void Update()
{
}
}
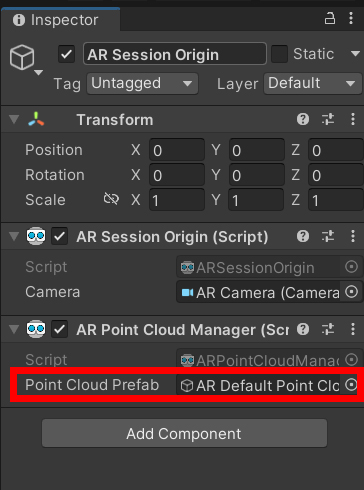
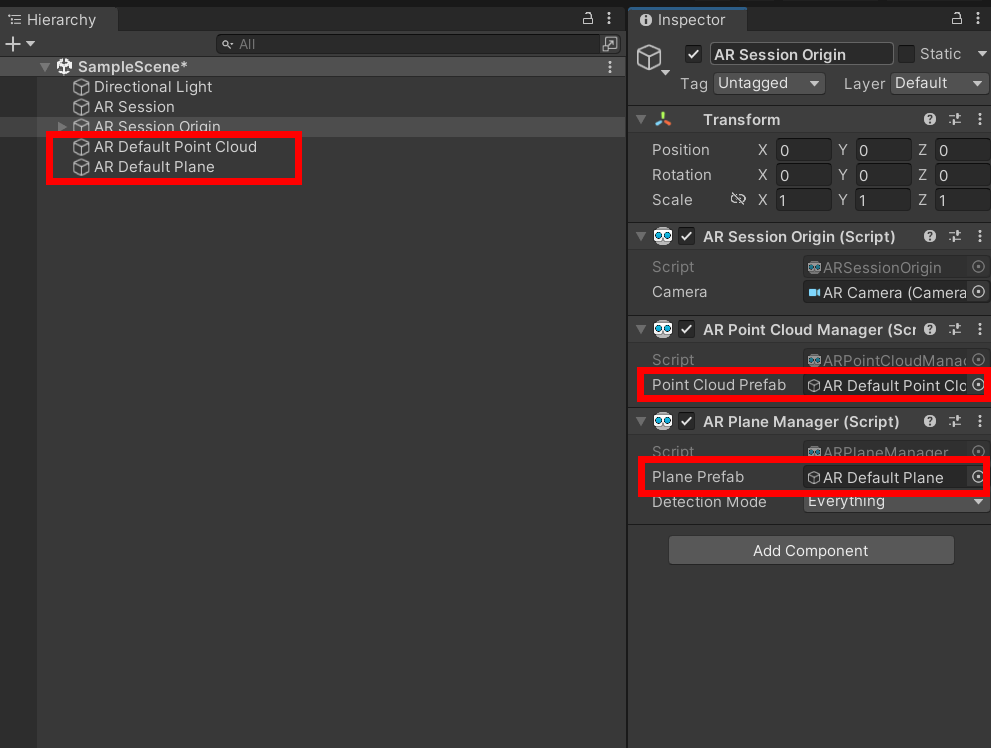
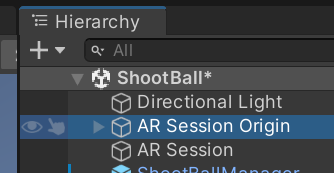
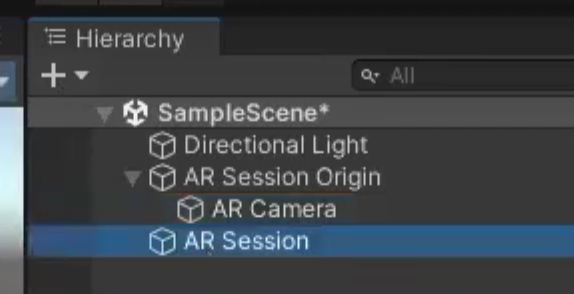
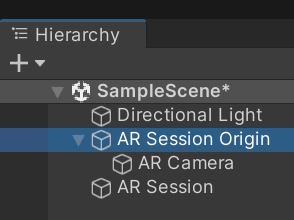
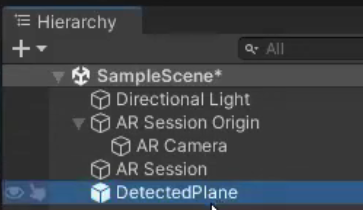
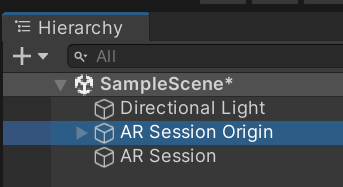
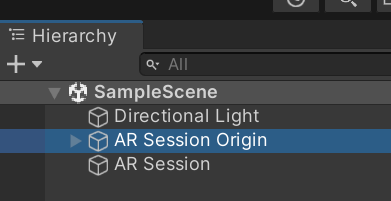
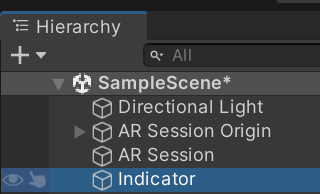
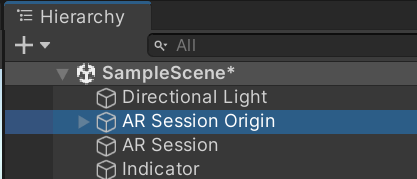
AR Session Origin을 선택하고 스크립트를 끌어다 추가하고 Indicator변수에 하이라키의 indicator를 끌어다 연결한다.
재생버튼을 누르면
Indicator가 사라진다. 다시 재생버튼을 눌러 멈춘면 나타난다. 플레이버튼이 켜진상태에서는 편집변경이 저장 안된다.
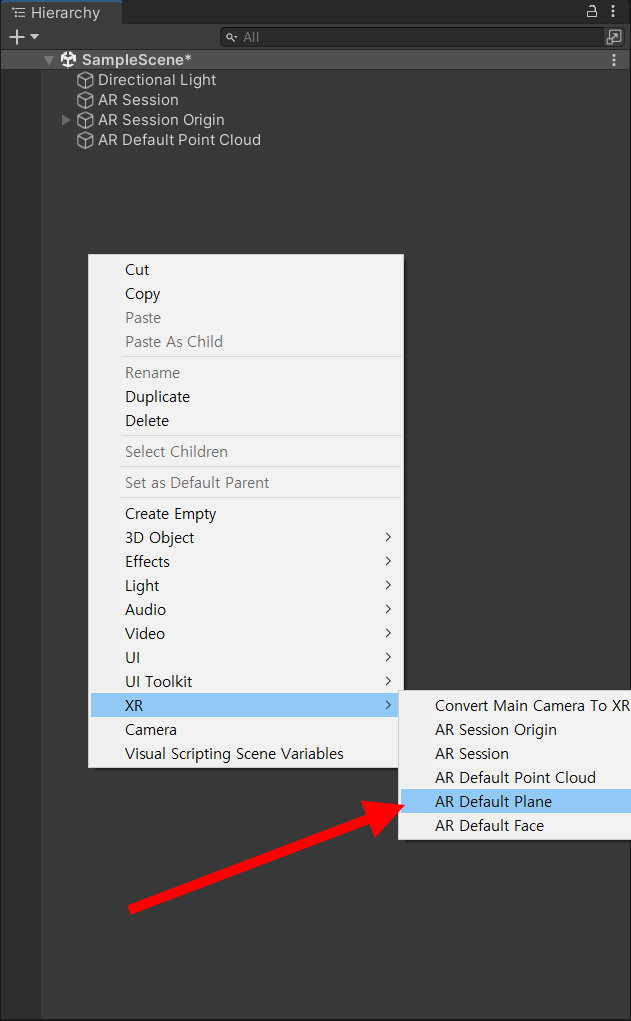
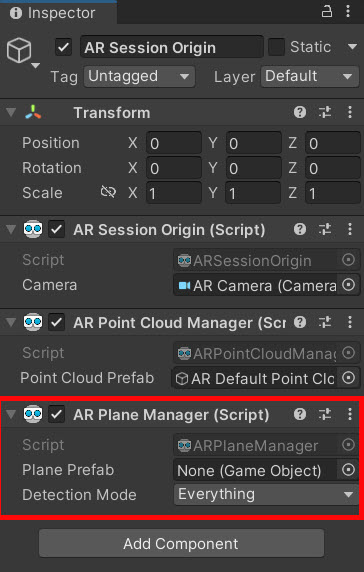
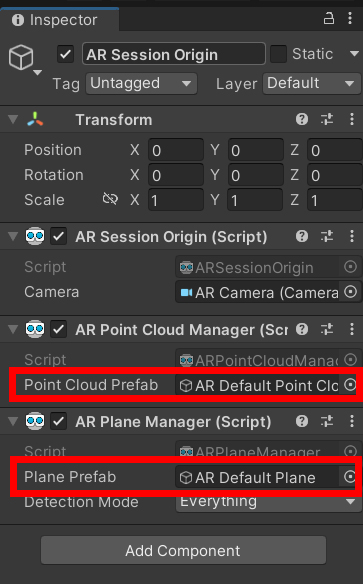
다음 스크립터를 추가하면 앱이 Plane을 생성하면 그 위에 인디케이터를 표시해준다
using System.Collections;
using System.Collections.Generic;
using UnityEngine;
using UnityEngine.XR.ARFoundation;
public class ObjectManager : MonoBehaviour
{
//변수선언
public GameObject indicator;
ARRaycastManager arManager;
// Start is called before the first frame update
void Start()
{
//AR Raycast Manager 컴포넌트를 가져옴
arManager = GetComponent<ARRaycastManager>();
//인디케이터 비활성화
indicator.SetActive(false);
}
// Update is called once per frame
void Update()
{
DetectGround();
}
void DetectGround()
{
//스크린 중앙 지점을 찾음
Vector2 screenSize = new Vector2(Screen.width * 0.5f, Screen.height * 0.5f);
List<ARRaycastHit> hitInfos = new List<ARRaycastHit>();
//만약 스크린 중앙에서 레이를 발사했을 때 평면이 있다면 인디케이터 활성화
if (arManager.Raycast(screenSize, hitInfos, UnityEngine.XR.ARSubsystems.TrackableType.Planes))
{
indicator.SetActive(true);
//인디케이터의 위치와 회전 값을 레이가 닿은 지점에 일치시킴
indicator.transform.position = hitInfos[0].pose.position;
indicator.transform.rotation = hitInfos[0].pose.rotation;
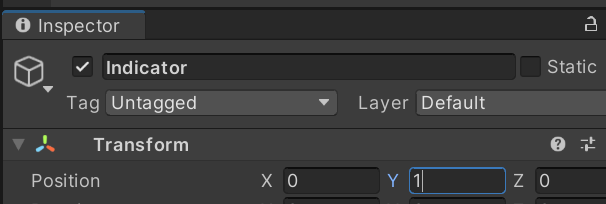
//위치를 위로 0.1m 옮림
indicator.transform.position += indicator.transform.up * 0.1f;
} else
{
indicator.SetActive(false);
}
}
}
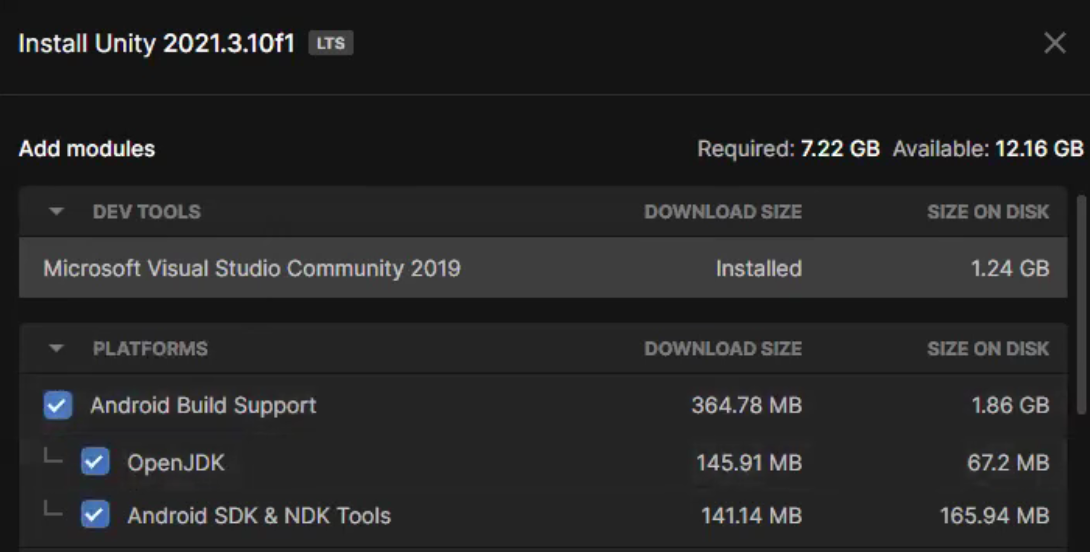
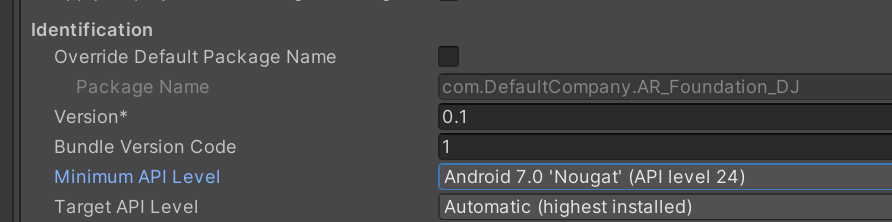
빌드하기
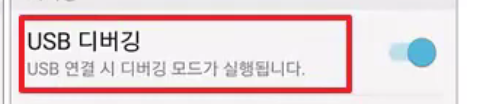
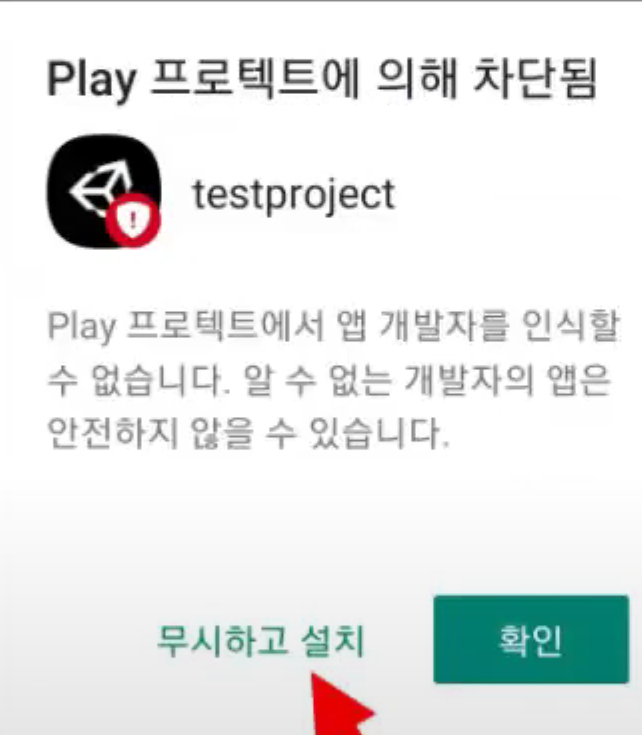
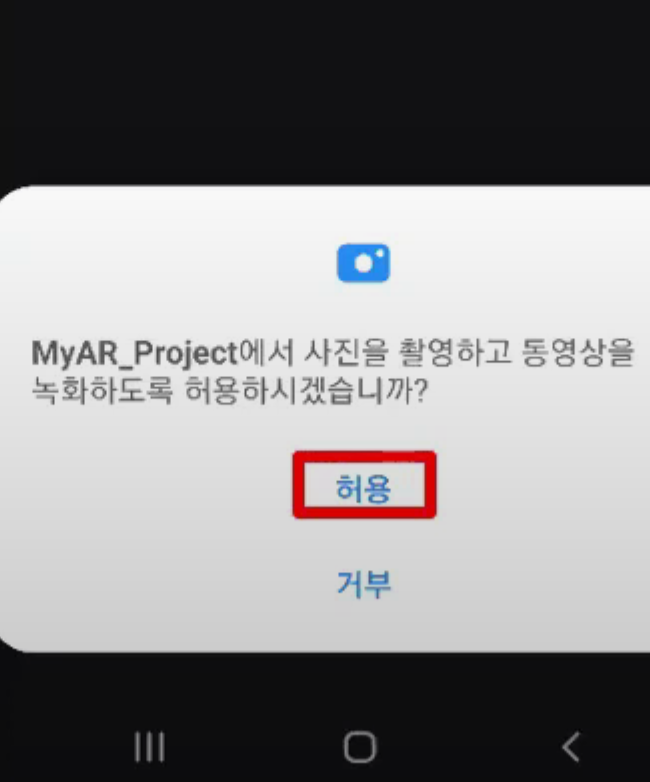
실험을 위해 핸드폰에서 실행하기 위해서는 개발자모드 설정을 해야한다. 설정에서 빌드번호를 검색후 계속 누르면 개발자가 된다. 다시 개발자모드를 검색후 사용, USB디버기을 활성화 해준다.
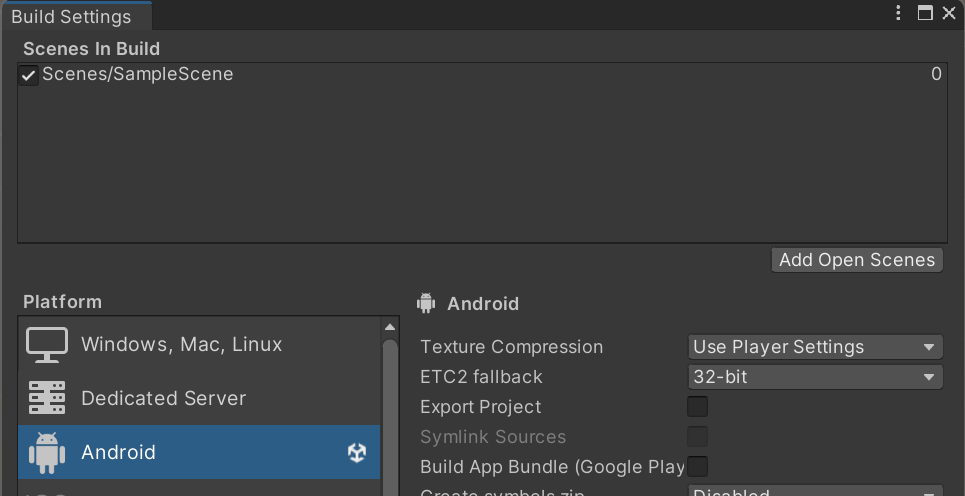
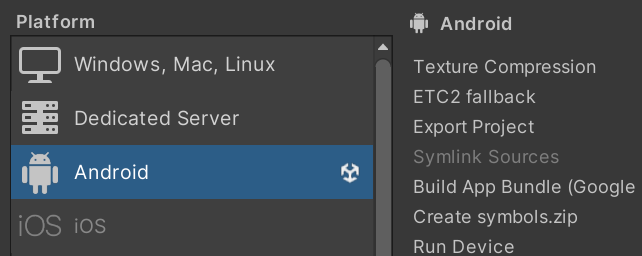
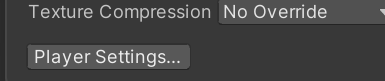
File>Build Setting에 가서 Add Open Scenes를 클릭해서 현재 씬을 넣어준다 물론 Andrid 가 선택되어져있어야한다.
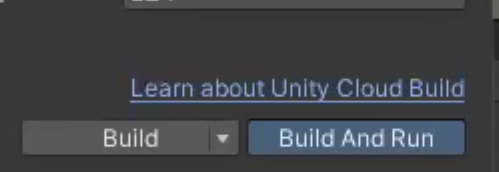
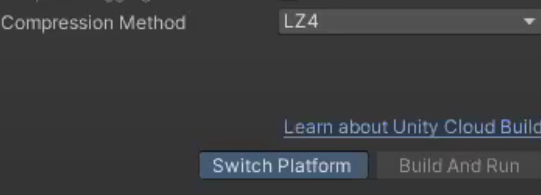
이후 아래 Build and Run을 누른다 파일명을 물어보면 Build폴더를 만들고 적당히 이름을 지정후 저장한다.
오래걸림
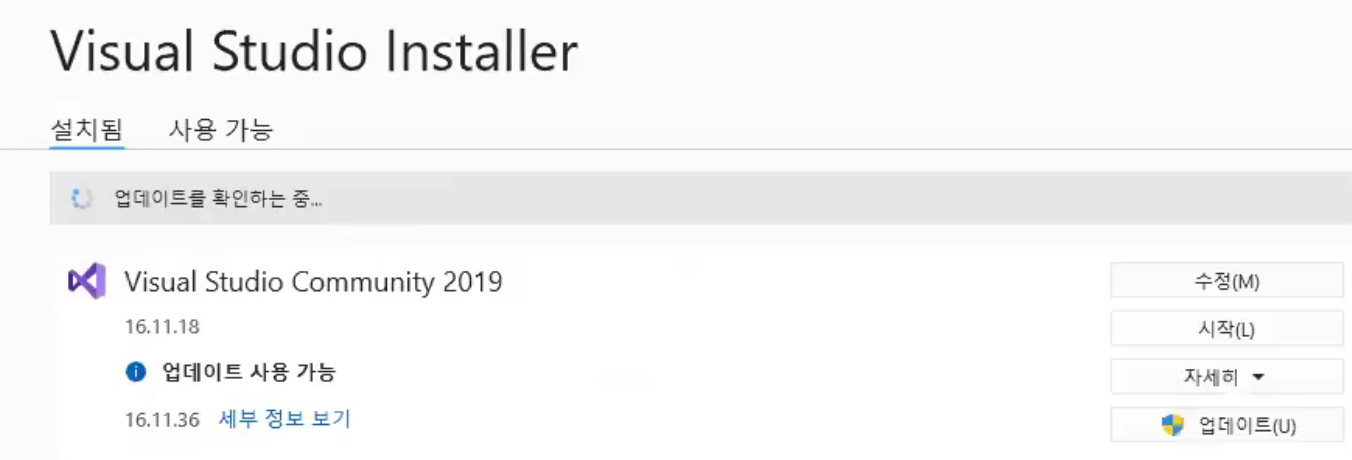
난 Build 는 되는데 Build and Run은 연결을 체크해봐라 문제없다면 드라이브 문제라는 헛소리가 나와서 드라이버를 깔아봤는