유니티는 레거시 애니메이션과 메카님 애니메이션이라는 두가지 유형의 애니메이션을 지원한다.
- 레거시 애니메이션 : 하위 호환성을 고려한 애니메이션, 소스코드로 컨트롤 함. 가볍지만 새로 만든다면 메카님을 추천
- 메카님 애니메이션 : 모션 캡쳐 애니메이션, 애니메이션을 재사용하는 Retargeting 가능.
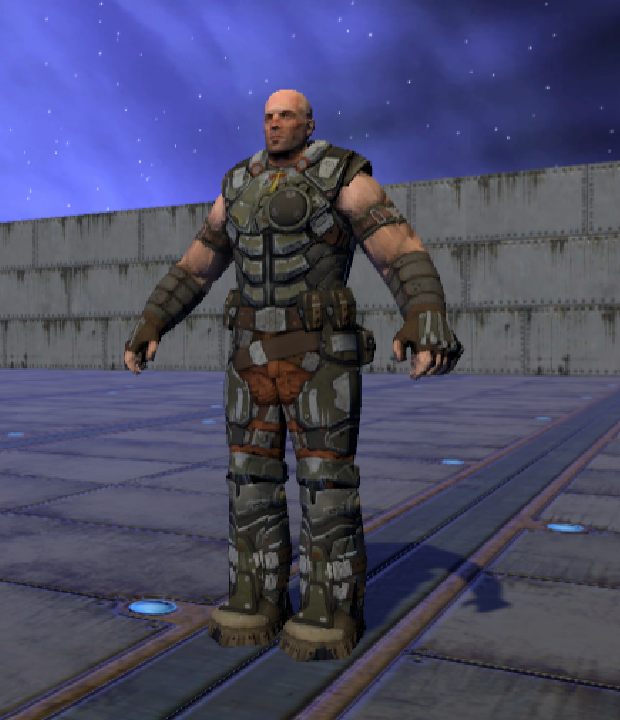
주인공 캐릭터는 애니메이션 타입으로 구현하고 적 캐릭터는 메카님 애니메이션을 적용해보자
Resorces/Anmations 폴더에서 PlayerAnimation 패키지를 임포트한다.
임포트후 생성된 폴더는 07.Animations폴더로 옮긴다.
프로젝트뷰 Model/Player폴더내의 Player모델을 선택 인스펙터뷰의 위쪽 Rig탭을 선택하고 Animation Type을 Leagacy로 설정한다.
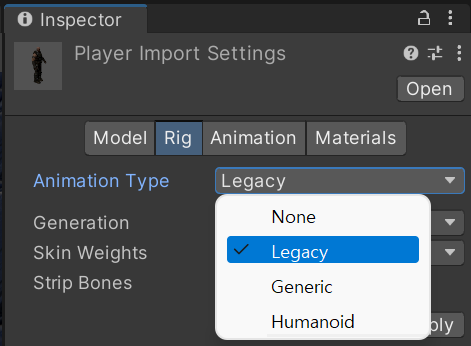
프로퍼티:기능:
| Animation Type | 애니메이션 타입을 지정합니다. | |
| None | 애니메이션이 없습니다. | |
| Legacy | 레거시 애니메이션 시스템을 사용합니다. Unity 3.x 및 이전 버전과 동일하게 애니메이션을 임포트하고 사용합니다. | |
| Generic | 릭이 비휴머노이드(네 발 달린 생물 또는 애니메이션화할 엔티티)인 경우 제니릭 애니메이션 시스템을 사용합니다. Unity가 루트 노드를 선택하지만, 루트 노드(Root node) 로 사용할 다른 뼈대를 대신 식별할 수 있습니다. | |
| Humanoid | 릭이 휴머노이드(두 다리와 두 팔과 머리가 있음)인 경우 휴머노이드 애니메이션 시스템을 사용합니다. 일반적으로 Unity가 골격을 감지하고 아바타에 올바르게 매핑합니다. 경우에 따라 아바타 정의(Avatar Definition) 변경사항을 설정하고 매핑을 수동으로 설정(Configure) 해야 할 수 있습니다. | |
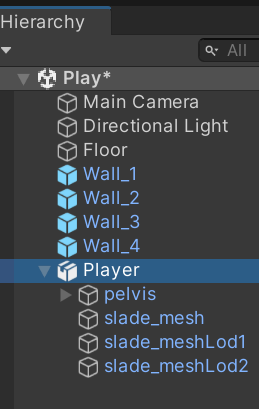
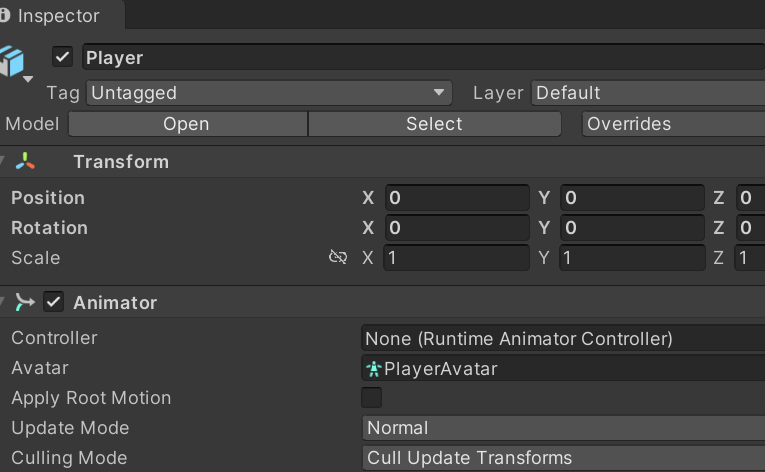
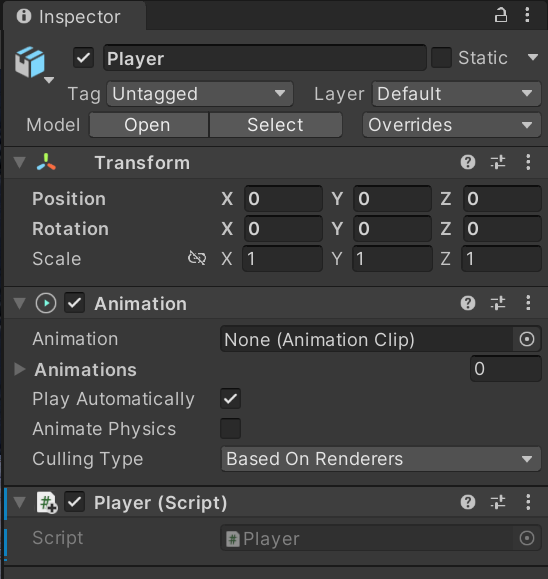
하이라키뷰에서 Player의 Inspector를 보면 Animation컴포넌트가 추가되어 있다 이는 레거시타입으로 설정된 모델을 의미한다. Animator가 추가되어 있다면 메카님 애니메이션이다.
애니메이션 클립
애니메이션 클립은 캐릭터의 동작을 기록한 파일입니다. 애니메이션 컴포넌트는 클립에 기록된 관절의 위치와 회전값을 프레임 단위로 재생시키는 역할을 한다.
3D 모델링 툴에서 제작한 애니메이션 클립을 애니메이션 파일로 만드는 방법에는 3가지가 있다.
- 모든 애니메이션이 하나의 애니메이션 파일에 들어 있고가 있는데 분리 해야하는 경우
- 모든 애니메이션 클립이 하나의 애니메이션 파일에 들어가 있지만 미리 분리된 경우
- 애니메이션 클립들이 동작별로 분리해 별도의 파일로 생성하는 방식
애니메이션 적용
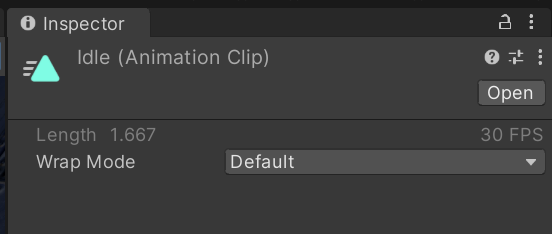
애니메이션폴더의 idel을 클릭해서 Inspector뷰를 보면 다음과 같이 아무것도 없다.
씬뷰나 프로젝트뷰의 모델 Player를 끌어다 idel Inspector뷰 맨아리 프리뷰에 끌어다 놓으면 모델이 보인다.
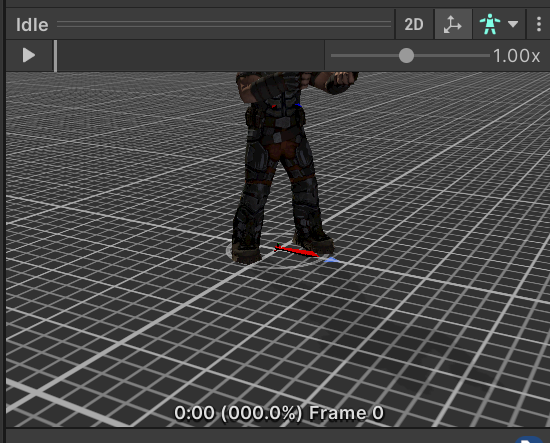
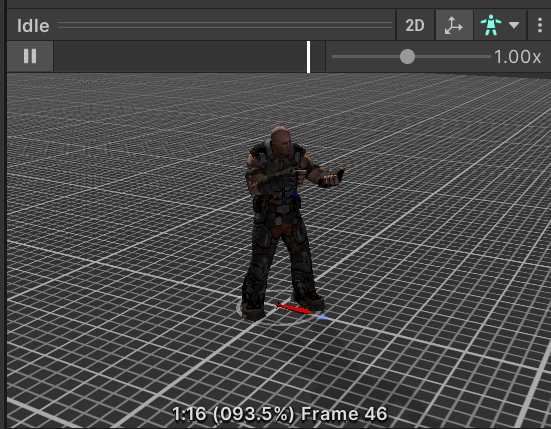
Zoom과 클릭후 Move해서 보기좋게 한후 Play를 누르면 프리뷰를 볼 수 있다.
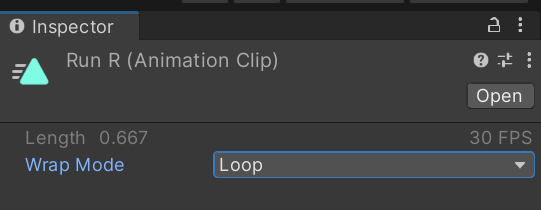
Player Animation Clip폴더에서 Idel, RunB, RunF, RunL, RunR의 클립만 사용할텐데 Wrap Mode를 Loop로 지정한다. 한꺼번에 할수 없어 개별로 하나씩 해야한다.
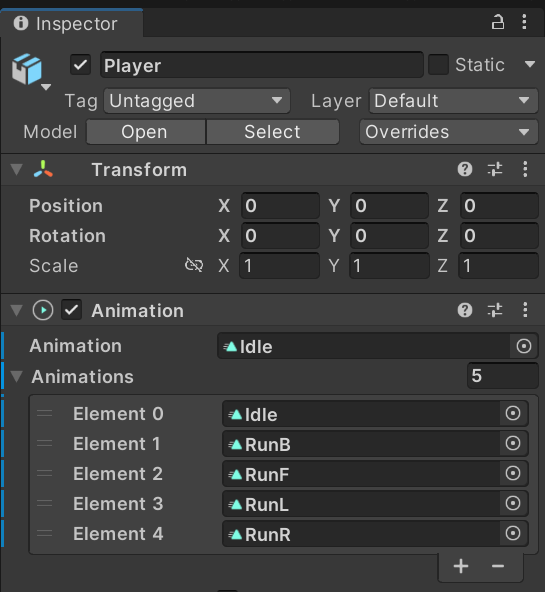
하이라키의 Player를 선택한후 자물쇠를 잠구고 Animation Clip폴더에서 Idel, RunB, RunF, RunL, RunR 개를 전부 골라 끌어다 인스펙터의 Animations에 끌어다 놓는다 그럼 오른쪽 숫자가 0에서 5로 바뀐다. 열어보면 5개의 클립이 잘 적용되여 있다.

이제 처음 실행시킬 Idle 애니메이션을 인스펙터의 Animation에 끌어다 놓으면 None이 Idle로 바뀐다.
설정완료후는 우상쪽 Lock을 푼다. Play해보면 Player가 Idel클립을 반복한다. 한번만 하고 끝난다면 아까 Wrap Mode를Loop로 설정 안한거다.
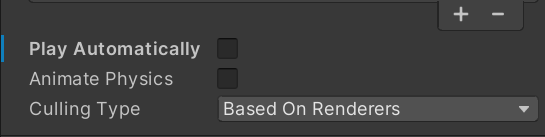
Player Inspector뷰의 Play Automatically속성은 실행했을때 기본 애니메이션 클립을 자동으로 실행해주는 옵션인데 해제한다. 이러면 play해도 아무런 동작도 하지 않는다.
스크립트를 통해 직접 컨트롤 해보겠다. PlayerCtrl스크립트를 다음과 같이 수정한다.
using System.Collections;
using System.Collections.Generic;
using UnityEditor;
using UnityEngine;
public class PlayerCtrl : MonoBehaviour {
// Start is called before the first frame update
Transform tr;
private float moveSpeed;
private float turnSpeed;
private Animation anim;
void Start() {
tr = GetComponent<Transform>();
moveSpeed = 10f;
turnSpeed = 500f;
anim = GetComponent<Animation>(); //추가된 코드
anim.Play();
}
// Update is called once per frame
void Update() {
float h = Input.GetAxis("Horizontal"); //AD 입력 좌우
float v = Input.GetAxis("Vertical"); //WS 입력 전후
float r = Input.GetAxis("Mouse X"); //마우스 x축 입력
Vector3 dir = Vector3.right* h + Vector3.forward* v;
tr.Translate(dir.normalized * moveSpeed * Time.deltaTime);
tr.Rotate(Vector3.up * turnSpeed * Time.deltaTime * r);
}
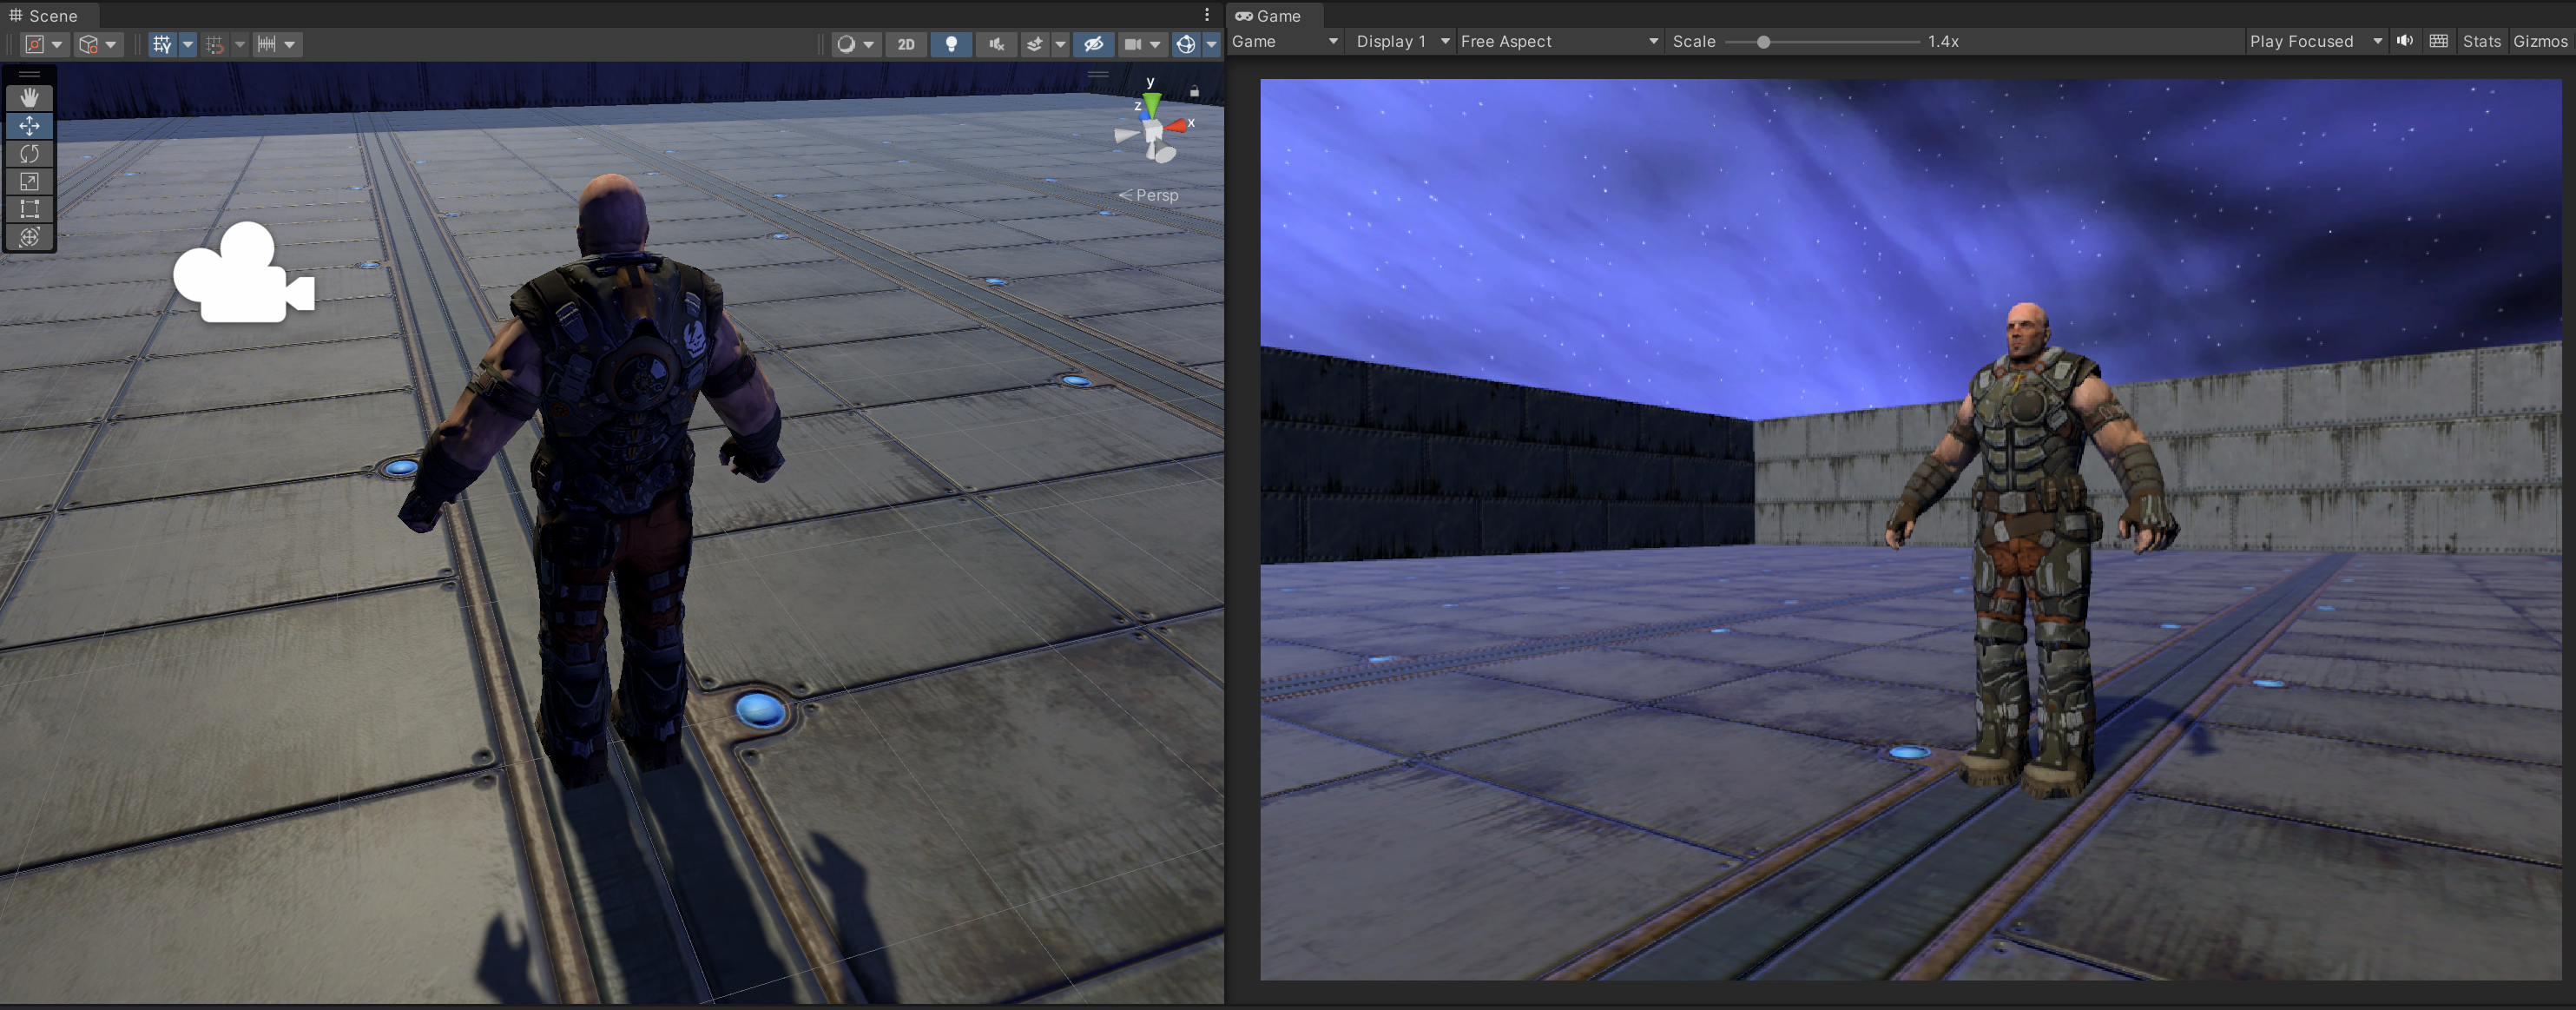
}Play해 보면게임뷰에서 캐릭터가 Idle동작을 반복해준다.
이제 키보드 동작에 맞춰 애니매이션을 바꿔가면 플레이해보겠다.
using System.Collections;
using System.Collections.Generic;
using UnityEditor;
using UnityEngine;

public class PlayerCtrl : MonoBehaviour {
    // Start is called before the first frame update
    Transform tr;
    private float moveSpeed;
    private float turnSpeed;
    private Animation anim;
    void Start() {
        tr = GetComponent<Transform>();
        moveSpeed = 10f;
        turnSpeed = 500f;
        anim = GetComponent<Animation>();  //추가된 코드
        anim.Play();
    }

    // Update is called once per frame
    void Update() {
        float h = Input.GetAxis("Horizontal");  //AD 입력 좌우
        float v = Input.GetAxis("Vertical");  //WS 입력 전후
        if (Mathf.Abs(h) > float.Epsilon || Mathf.Abs(v) > float.Epsilon) {  //움직임이 없다면 불필요한 동작을 안한다.
            Vector3 dir = Vector3.right * h + Vector3.forward * v;
            tr.Translate(dir.normalized * moveSpeed * Time.deltaTime);
            PlayerAnim(h, v);
        }
        float r = Input.GetAxis("Mouse X");  //마우스 x축 입력
        tr.Rotate(Vector3.up * turnSpeed * Time.deltaTime * r);

    }
    void PlayerAnim(float h, float v) {
        Debug.Log("Move");
        if (v >= 0.1f) {
            anim.Play("RunF");
        } else if(v <= -0.1f) {
            anim.Play("RunB");
        } else if(h >= 0.1f) {
            anim.Play("RunR");
        } else if (h <= -0.1f) {
            anim.Play("RunL");
        } else {
            anim.Play("Idle");
        }
    }
}
너무 잘된다. 현재도 문제없지만 유니티는 애니메이션사이의 전환을 부드럽게 만들어주는 CroffFade라는 함수를 준비해놓왔다. 사용법은
CrossFace("클립명", 전환시간);
using System.Collections;
using System.Collections.Generic;
using UnityEditor;
using UnityEngine;

public class PlayerCtrl : MonoBehaviour {
    // Start is called before the first frame update
    Transform tr;
    private float moveSpeed;
    private float turnSpeed;
    private Animation anim;
    void Start() {
        tr = GetComponent<Transform>();
        moveSpeed = 10f;
        turnSpeed = 500f;
        anim = GetComponent<Animation>();  //추가된 코드
        anim.Play();
    }

    // Update is called once per frame
    void Update() {
        float h = Input.GetAxis("Horizontal");  //AD 입력 좌우
        float v = Input.GetAxis("Vertical");  //WS 입력 전후
        if (Mathf.Abs(h) > float.Epsilon || Mathf.Abs(v) > float.Epsilon) {  //움직임이 없다면 불필요한 동작을 안한다.
            Vector3 dir = Vector3.right * h + Vector3.forward * v;
            tr.Translate(dir.normalized * moveSpeed * Time.deltaTime);
            PlayerAnim(h, v);
        }
        float r = Input.GetAxis("Mouse X");  //마우스 x축 입력
        tr.Rotate(Vector3.up * turnSpeed * Time.deltaTime * r);

    }
    void PlayerAnim(float h, float v) {
        Debug.Log("Move");
        if (v >= 0.1f) {
            anim.CrossFade("RunF",0.25f);
        } else if(v <= -0.1f) {
            anim.CrossFade("RunB", 0.25f);
        } else if(h >= 0.1f) {
            anim.CrossFade("RunR", 0.25f);
        } else if (h <= -0.1f) {
            anim.CrossFade("RunL", 0.25f);
        } else {
            anim.CrossFade("Idle", 0.25f);
        }
    }
}
실행해보면 큰차이를 모르겠지만 동작간 차이가 클 경우 필요할 듯하다.
#유니티 #Animation
'유니티게임강좌 > 주인공 캐릭터 제작' 카테고리의 다른 글
| [Player제작] 그림자 (0) | 2023.02.26 |
|---|---|
| [Player제작] 무기장착 (0) | 2023.02.26 |
| [Player제작] 캐릭터 회전 - Rotate (0) | 2023.02.25 |
| Assembly (0) | 2023.02.25 |
| [Player제작] 접근제한자 (0) | 2023.02.25 |